Is your phone storage always full, even though you keep removing files? I had the same problem earlier, I kept emptying the trash on my Android device. My phone slowed down, and it was irritating to see my phone lag every time I used it.
However, there is nothing to be bothered about. Android has its own set-up for you so that you can find the Trash and empty it without going through the Recycle Bin. In this Guide, I will show you all the steps you can apply to empty trash on Android.
Also, Read 5 Ways How To Hack Wi-Fi Passwords In Android
Why Do Junk Files Accumulate on Android?
Junk files are temporary files created by apps and the system. They include cache files, residual files, and other unnecessary data. Over time, these files grow and take up valuable storage space.
For example, I once noticed that my phone’s storage was almost full even though I didn’t download anything new. When I checked, I found that the cause was junk files accumulated over the years.
How To Empty Trash On Android?
As I have already said, the Android does not have a recycle bin in it. This is because of limited storage space. Smartphones and tablets do not have much storage space as compared to computers.
Android keeps the trash in its system as a cache. There are a few ways to empty trash and cache on Android devices. They are listed below:
1. Clear Cached Data From Android
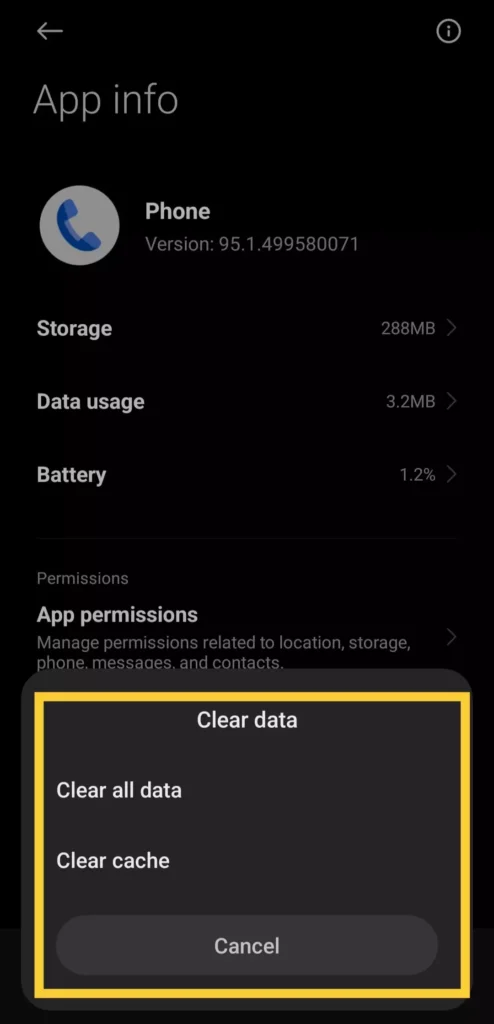
First, what is cached data? It’s temporary data collected by your Android device to optimize your user interface. While it does make your work faster, it takes up memory on your phone. So, if you want to delete your cached data to empty up some space, here’s how to do it.
- Open the Settings app of your Android device.
- Scroll down until you find the Storage option, Tap on it to open.
- After that navigate to Apps.
- Now, select an app from the app list.
- Tap on its Storage and then tap on Clear Cache Data.

You can repeat this step on apps that use up a lot of data if you need to. (e.g. social media apps, downloading apps, etc).
2. Delete Junk Files (Duplicate Photos/Unused Files/ Unused Apps)
From the internet, we may download many files, apps, etc., which are needed for temporary purposes and stay on our Android. They take up a lot of storage on your device.
Therefore, you should delete them by going to your ‘File Manager > Downloads folder’ and then selecting and deleting the ones that are of no use.
You can also empty the Trash on your Android phone by deleting duplicate photos. You usually click many pictures but then forget to remove the duplicate photos. You should delete those photos to make more space available.
You can use Duplicate Files Fixer which will scan your entire device and find duplicate photos, files, etc. This will help you to delete those files and empty trash on your Android phone in less time.
3. Uninstalling Unused Apps from Phone
You may have installed a lot of apps, and some apps come pre-installed on your phone that might not be of use. Such unused apps occupy a lot of space on your phone. If you want to free up some space and free up trash, uninstall such unused apps from your Android phone.
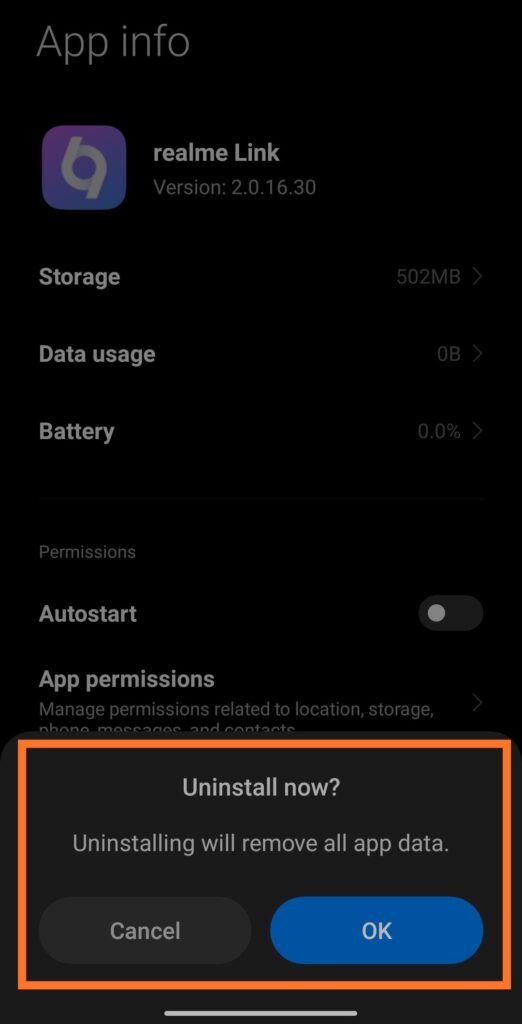
On Android phones, there are several options for deleting apps. You can do this from the ease of your home by long-pressing the app icon and selecting the delete button. Or you can do the same in Settings by following the steps below:
- Go to Settings.
- Navigate to Apps and choose the one you want to uninstall.
- When the app’s settings open, tap the Uninstall button and confirm your choice.

4. Use a Third-Party App – Recycle Bin
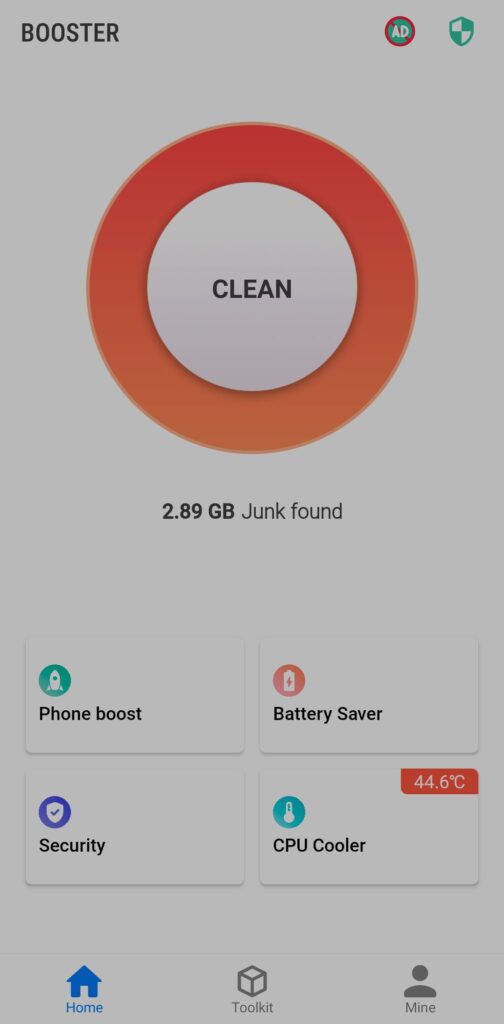
To help you delete or empty all the trash on your Android, there are lots of apps available on the Google Play Store that will help you delete content, junk files, or cached data. You can download and install Phone Cleaner from the Google Play Store and then follow the steps to manage or empty trash on your Android phone.
- Download and Open the Phone Cleaner app.
- Here, you will see all your deleted junk files or trash files on your Android. Select the trash files that you want to delete and click on Empty Trash.

5. Store all your files on a Micro SD Card
If you are facing the difficulty of limited internal storage space in your Android phone, use an SD card. Using the SD card on your Android device is another way to increase its storage space. Almost all Android phones come with an extra SD card slot to handle device data easily.
How to Empty the Photos Trash on Android Smartphone
Google Photos stores deleted photos and videos in the Trash folder for 30 days. To permanently remove them:
- Open the Google Photos app on your Android smartphone.
- Tap the Library tab at the bottom of the screen.
- Select Trash (or “Bin” in some regions).
- Tap the More option (three-dot icon) in the top-right corner.
- Select Empty Trash and confirm your choice.
Conclusion
Keeping your Android device free of junk files not only improves performance but also extends its lifespan. By following the steps above, you can easily empty trash and regain valuable storage space. I’ve personally used these methods to keep my phone running smoothly, and they work like a charm. Take a few minutes today to clean your device and enjoy the difference.
